


Powering a Raspberry Pi together with a 7-inch touchscreen in a safe way needs several main points. These points help both parts work well and stay free from harm. The Raspberry Pi acts as a handy small computer. It fits many tasks, from media players to touch kiosks. When paired with a 7-inch touchscreen, it boosts options for building touch apps. Yet, supplying power to both items calls for smart plans. This stops troubles like low voltage, too much heat, or broken parts.
Understanding the Power Needs
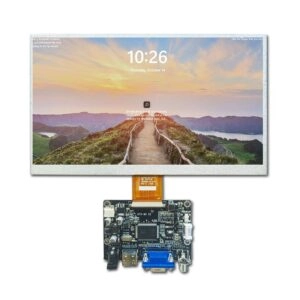
Understanding the power needs of the Raspberry Pi and the 7-inch touchscreen stands as the base. The Raspberry Pi runs on a 5V supply. Its current draw changes by model: the Raspberry Pi 4 needs a 3A supply, but the Raspberry Pi 3 works with 2.5A. A usual 7-inch touchscreen also takes a 5V supply. It pulls about 450 to 470 mA on its own. These details highlight picking a power source that handles the total load. This matters most in setups with extra add-ons. For high-quality options, explore Miqidisplay’s Raspberry Pi TFT Display category, which offers compatible screens with detailed specs.
Ensuring Safe Powering
Keeping power safe means sticking to right supply specs and correct links. Official Raspberry Pi power supplies earn praise for steady work and safety rules. For the touchscreen, choices cover a separate micro USB supply or links through the Raspberry Pi’s GPIO pins. Choosing a different supply for the touchscreen cuts low voltage risks. This holds true in builds with heavy power users. Such a method spreads the electric load. It builds steady runs and long life for factory and shop uses.
Voltage steadiness stays key. Sudden changes can cause odd actions or hardware breaks. Top-quality cables with little resistance aid even power flow. In work settings, like built-in systems or kiosk screens, adding surge guards boosts safety from power glitches. As a trusted manufacturer, Miqidisplay provides precision-engineered solutions with over 20 years of OEM/ODM expertise.
How to Power a Raspberry Pi with a 7 Inch Touchscreen Step-by-Step Guide
1. Update the Raspberry Pi System
Before adding the touchscreen, check that the Raspberry Pi uses the newest Raspberry Pi OS version. Link the Pi to a screen, keyboard, and mouse for first setup. Then run system updates. These bring in fresh drivers and fixes. This step makes sure touch parts match and run best.
2. Assemble the Touchscreen
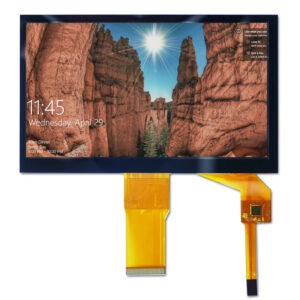
Follow the maker’s build steps. These usually mean fixing ribbon cables to the control board. Next, stick the board to the screen’s back. Lock all links tight to avoid work stops. For tougher strength in hard jobs, models with immersion gold plating come from Miqidisplay’s Raspberry Pi TFT Display group. They give strong solder spots that fight rust. Consider the 7-inch HDMI Raspberry Pi with Touch Screen for plug-and-play compatibility and 5-point capacitive touch.
3. Connect Power
Supply the touchscreen through its own micro USB or GPIO pins on the Raspberry Pi. For GPIO links, join the red wire to a 5V pin. Attach the black wire to a GND pin. Make sure the supply covers the full current pull of both items. This often goes over 3A for full setups.
4. Mount the Raspberry Pi
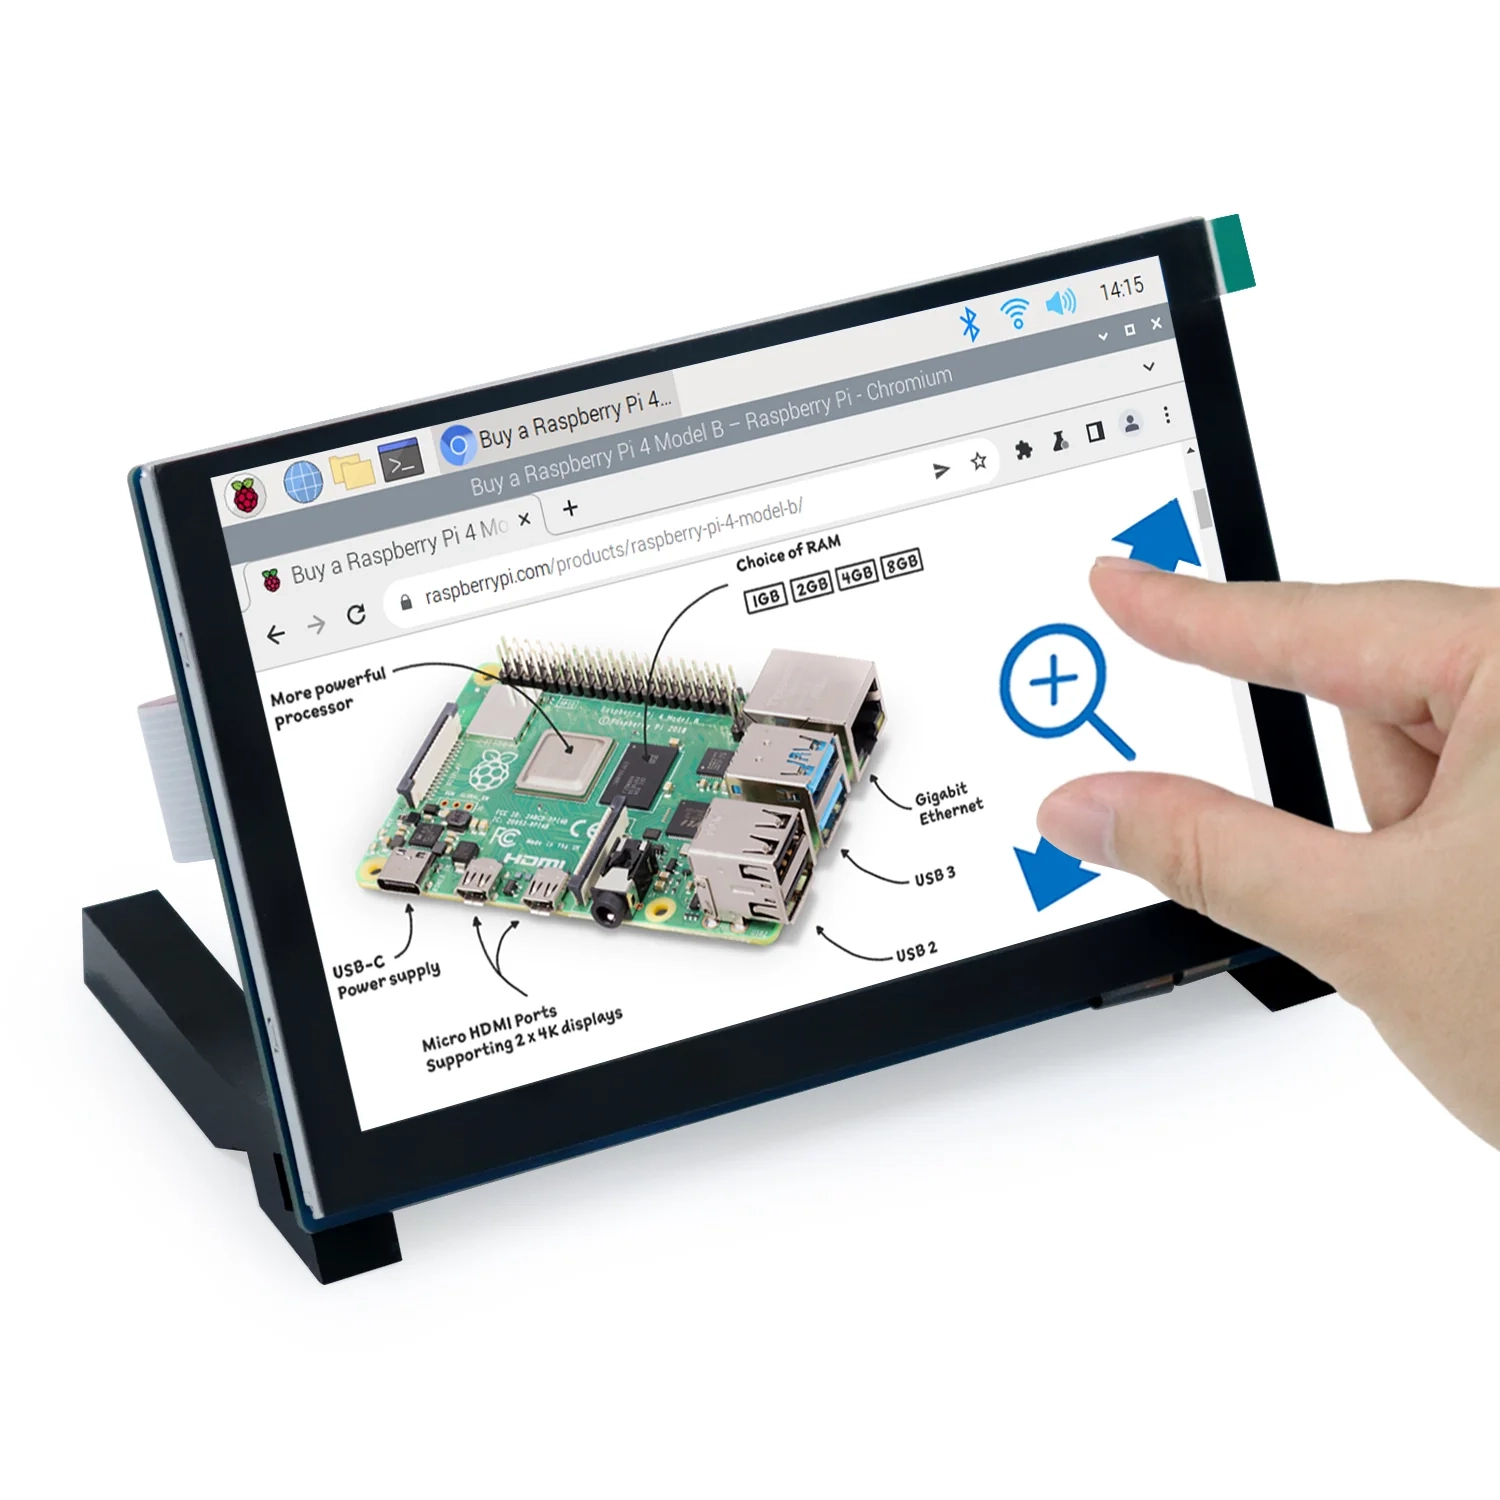
Fix the Raspberry Pi to the touchscreen’s rear with standoffs and screws given. This setup cuts cable pull and random breaks. It suits moving or fixed spots in business areas.
5. Test the Setup
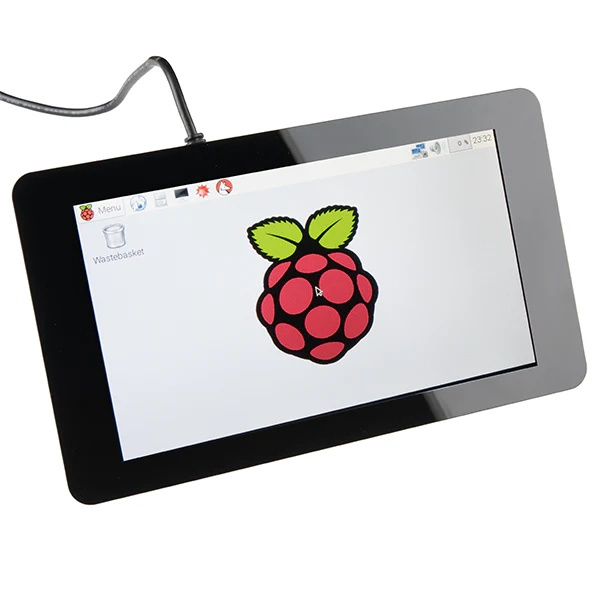
Turn on the Raspberry Pi and check touchscreen work. The screen should show the Raspberry Pi desktop. Touch actions must reply right. Fixing issues now spots problems soon. It leads to smooth rollout.
This way builds trusty links. It backs uses from home controls to factory panels.
Common Issues and Solutions
Undervoltage Warning
A yellow lightning bolt sign shows low voltage. It often comes from weak supplies or bad cables. Use a high-grade supply that meets total amp needs. For touchscreen power alone, check its supply works. In long runs, watch tools can spot drops under 4.65V early. This stops speed loss.
Overheating
Closed projects raise heat risks. These can lead to speed cuts or stops. Allow air flow around the Raspberry Pi. Add heatsinks to main parts. Such cheap fixes can drop heat by up to 20°C. They keep work steady in heavy tasks like constant watch systems.
Connectivity Issues
Touchscreens that fail to reply may stem from loose ribbon cables. Push them in firm. Ongoing troubles call for maker guides. Checking match with systems like Raspbian or Ubuntu ensures easy HID links.
Fixing these ahead keeps system strength for pro-level tasks.
Advanced Considerations
Powering Other Peripherals
Adding USB drives, cameras, or Wi-Fi units needs a supply for more draw. This often tops 3.5A. A powered USB hub takes load off Pi ports. It improves spread for many-device sets in IoT or auto jobs.
Enclosure and Cooling
Enclosures need air holes to let heat out well. Add fans or mesh for natural air move. For tough spots, enclosures that fit wide-temperature displays keep work from -20°C to 70°C.
Software Configuration
Set Raspberry Pi OS to pick the touchscreen as main screen via the config tool. Turn on touch tuning for exact moves. This aids multi-point actions key for business touch screens.
Additional Considerations for Powering and Cooling
Power Supply Selection
Past amps, pick supplies with steady 5V output and low ripple. Trusted adapters stop voltage drops. This matters for 7-inch HDMI Raspberry Pi touch screens with 1024×600 resolution and 5-point capacitive touch.
Cooling Solutions
Heatsinks work well with GPIO fans for active cool in hard jobs. These fit hot areas or closed kiosks. They hold CPU heat under 80°C.
Enclosure Design
Choose materials that let heat go, like hole-filled aluminum. Custom builds fit cables. They add ease for growth in big rollouts.
Power Distribution
Powered hubs ease add-on power. This cuts Pi strain. It aids bigger setups without steady loss.
Advanced Power Management Techniques
Power Monitoring
Software tools track use and heat. They warn of odd signs. Links with GPIO sensors give live boards. These prove useful for group control in shop apps.
Power Saving Techniques
Lower screen light or stop idle add-ons to save power. This can cut draw by half in quiet times. Such ways lengthen gear life in battery jobs.
Backup Power Options
UPS units or lithium backups guard from cuts. They ensure run time for key systems like point-of-sale screens. Sizes of 5000mAh keep work for hours.
Using these ways builds tough, power-smart setups fit for company needs.
Conclusion
Powering a Raspberry Pi with a 7-inch touchscreen safely rests on careful supply picks and link habits. Following listed steps and fixing usual snags builds trusty work. Top parts, matched to total current needs, stop low voltage and heat issues. They promise smooth runs across many tasks.
Frequently Asked Questions
1. How to Power My Raspberry Pi and Touchscreen Safely?
Use a strong power supply that meets joint current needs. Power the touchscreen alone or via GPIO. This avoids Pi output overloads.
2. What Power Supply Should be Used?
Pick official Raspberry Pi adapters or matches rated 2.5A to 3A. This depends on model and add-ons. Ensure voltage control.
3. Can HDMI and the Touchscreen be used at the Same Time?
Two outputs work on newer models with right software. Yet main use picks touchscreen for set screens. Check specs for multi-screen aid.
4. How to Prevent Overheating?
Allow air move and add heatsinks. Watch via software to keep safe heat levels.
5. What If the Touchscreen Doesn’t Work?
Check cable fit and OS match. Look at manufacturer and wholesale supplier resources for checks.
Partner with Miqidisplay – Your Trusted Manufacturer and Supplier for Custom Raspberry Pi Touch Solutions
As a leading TFT LCD display manufacturer and supplier with over 20 years of OEM/ODM expertise, Miqidisplay operates state-of-the-art factories in Shenzhen and Hangzhou. The company delivers precision-engineered solutions to over 200 countries. Specializing in high-performance Raspberry Pi TFT displays and capacitive touch modules, the company ensures ISO-certified quality, 90% on-time delivery, and tailored R&D for industrial, automotive, and interactive kiosk applications. Businesses seeking reliable, scalable display integrations are invited to collaborate. Contact the Miqidisplay team today at mary@miqidisplay.com or WhatsApp +86 188 7965 2960 to discuss bulk orders, custom prototypes, or integration support. Visit our contact page to initiate your project and elevate your embedded systems with factory-direct innovation.